
How to install netting
If you’re building a backyard hockey rink, adding netting is one of the best upgrades you can make. Not only does it keep pucks inside the rink (and away from windows, neighbors, and vehicles), but it also creates a safer environment for players of all ages. In this guide, I’ll walk you through the simple, cost-effective method we use each winter to install durable backstop netting around our outdoor rink. Check out the video for more details on the process.
Why Use Netting on our Outdoor Rink?
Over the years, we’ve tried different ways to prevent pucks from flying out of the rink. This method has held up extremely well and offers several benefits:
Keeps pucks from disappearing into snowbanks
Protects windows, sheds, warming houses, and nearby structures
Saves time hunting for lost pucks
Installs and removes quickly each season
Works for other sports too—soccer, lacrosse, baseball, and more
Materials Needed
Here’s what I used for this project:
Five 10-ft T-posts
1 7/8" multi-sport netting, 2mm thickness (standard or custom-cut lengths available online)
Pipe insulation (6-ft length) — fits over 1 ¼" diameter to cover the T-posts for a clean look
Scissors
Ladder
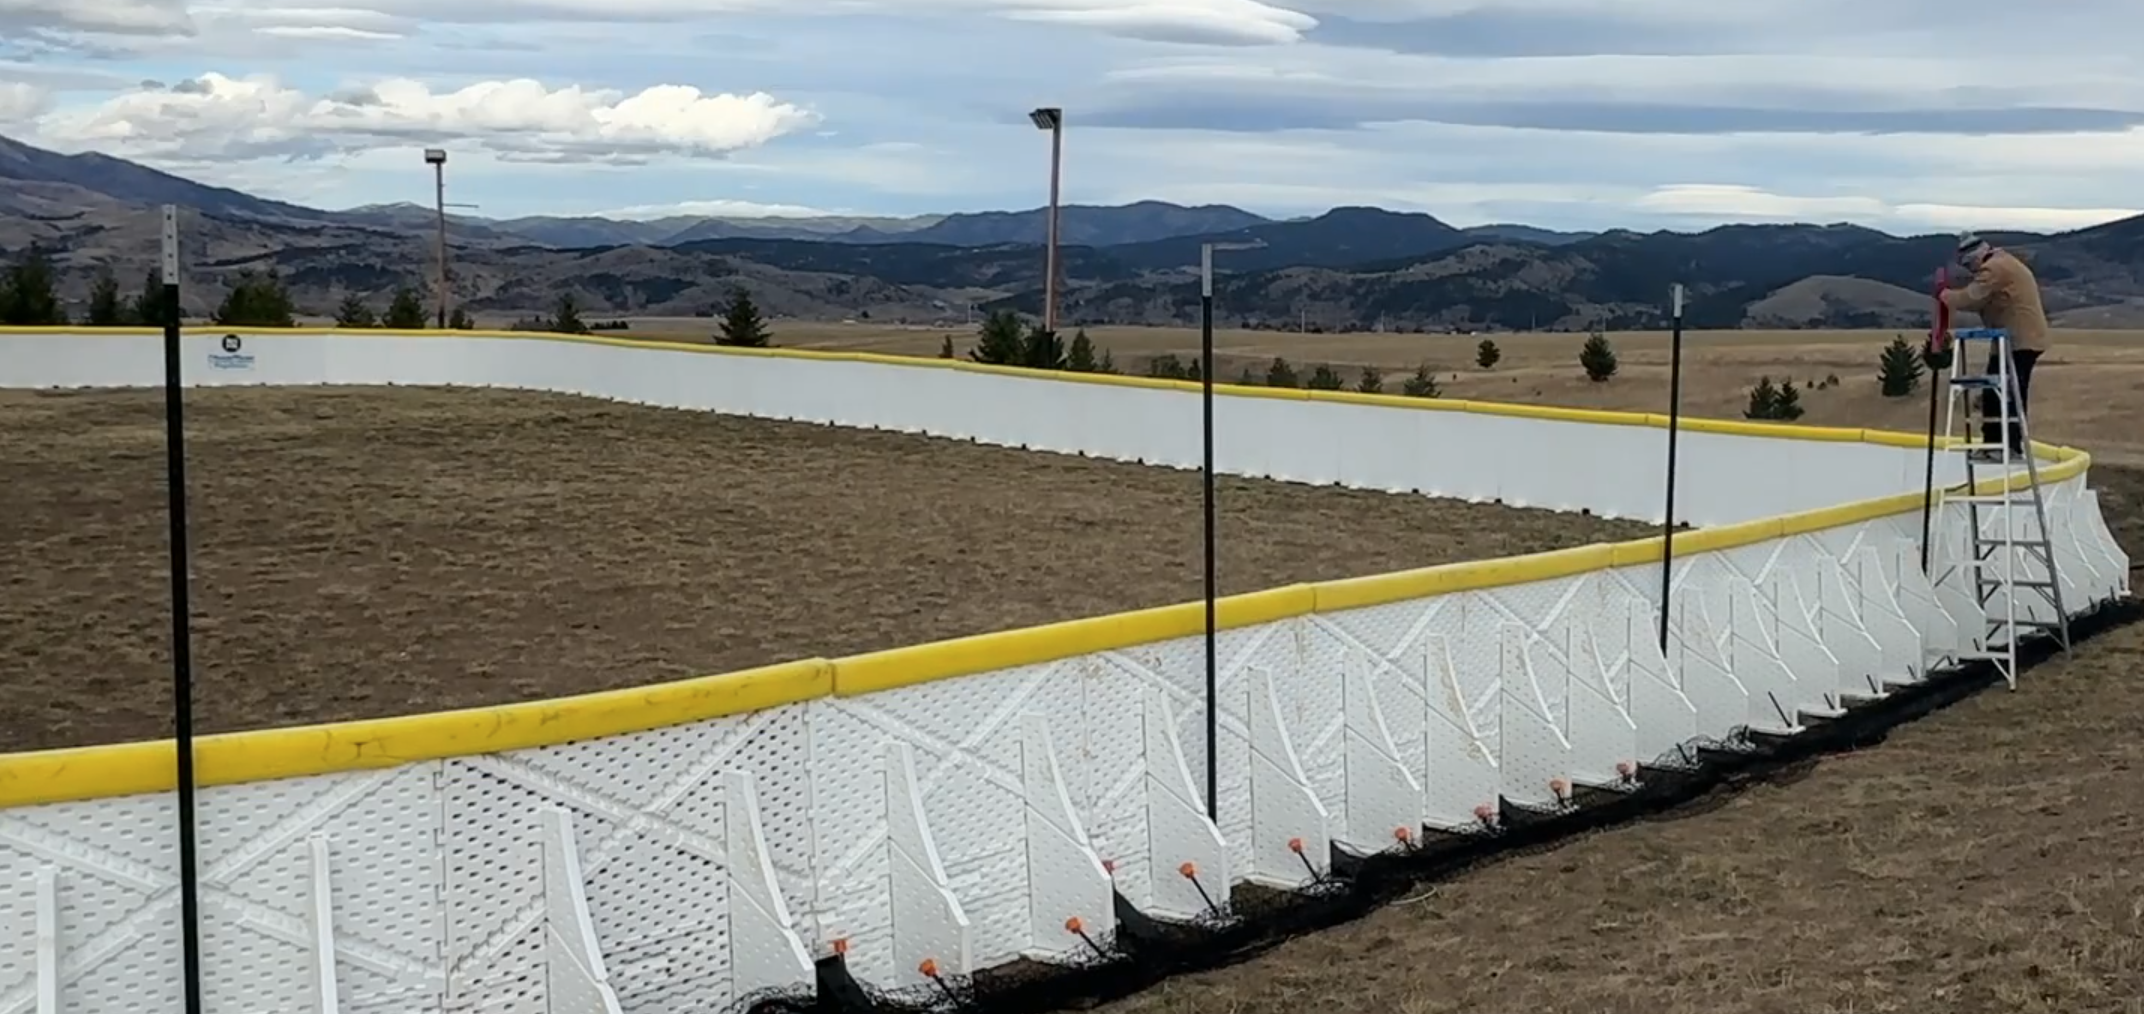
Step 1: Lay Out and Mark the Post Locations
Start by identifying the center point of the rink. I counted the boards inward from the corner to find the middle, then placed my first T-post there. The remaining posts were spaced evenly on each side.
For reference, the netting I used spans about 50 feet, which perfectly covers the shooting area behind the goal on our 60-foot-wide rink.
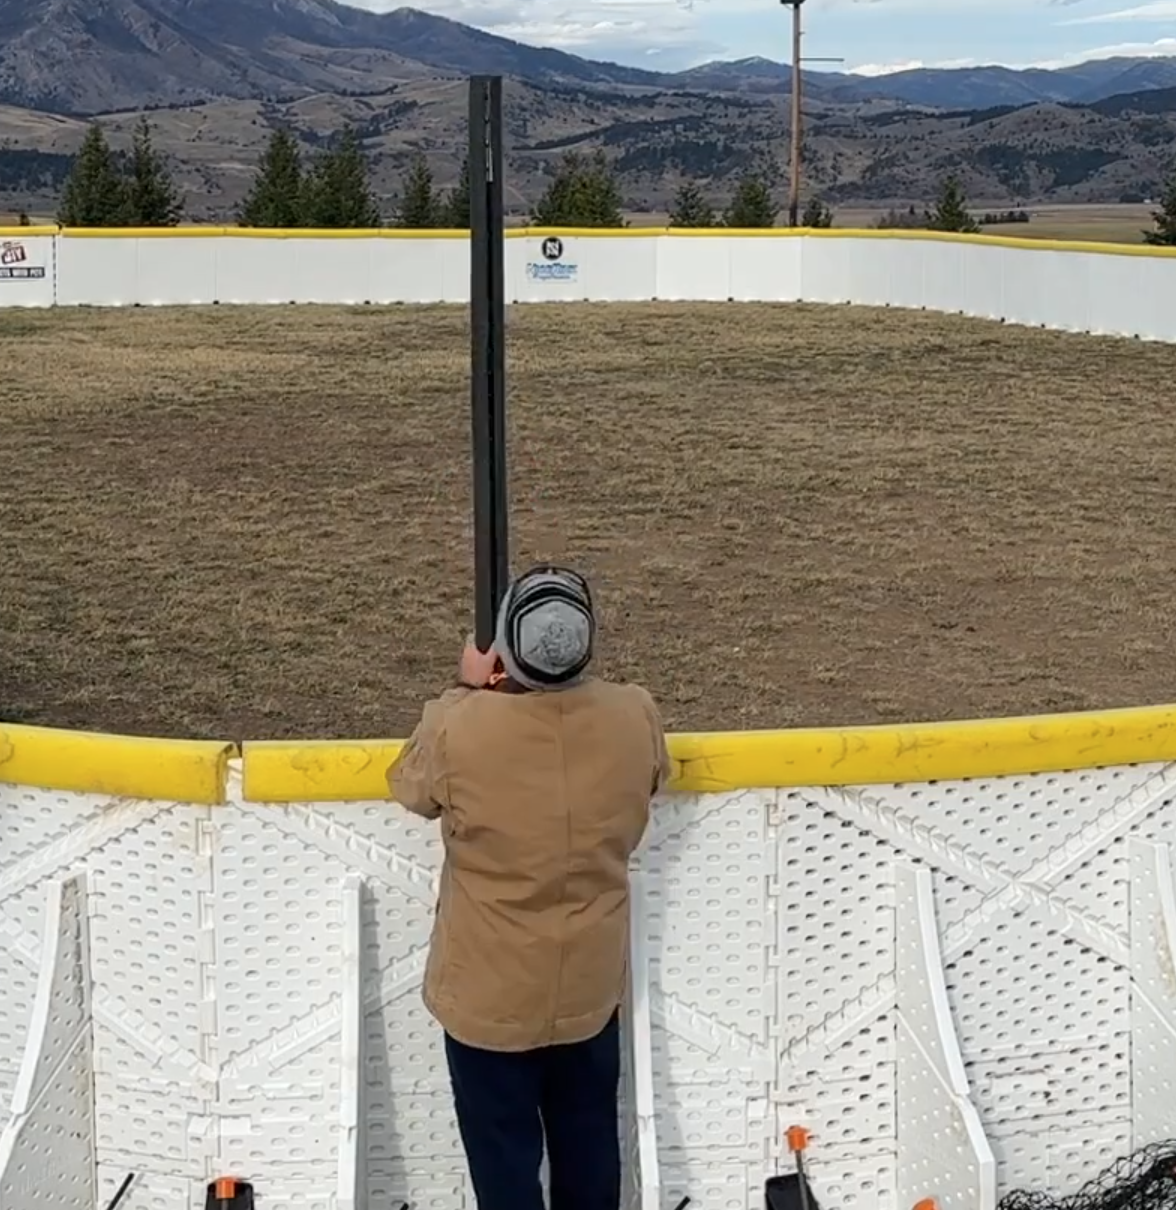
Step 2: Install the T-Posts
Using a post pounder, drive each T-post into the ground. It doesn’t take long—just be prepared for a small arm workout and wear hearing protection while pounding them in.
Using the post pole driver to put in T-posts
Tips for installing T-posts:
Keep them as straight and plumb as possible so the netting hangs evenly
Drive them deep enough that the anchor plate is buried
Position posts close to the boards, leaving only a small gap to keep pucks from getting through
Once the posts are set, slide pipe insulation over each one for a clean, finished look (and a little added safety).
Sliding on the pipe insulation
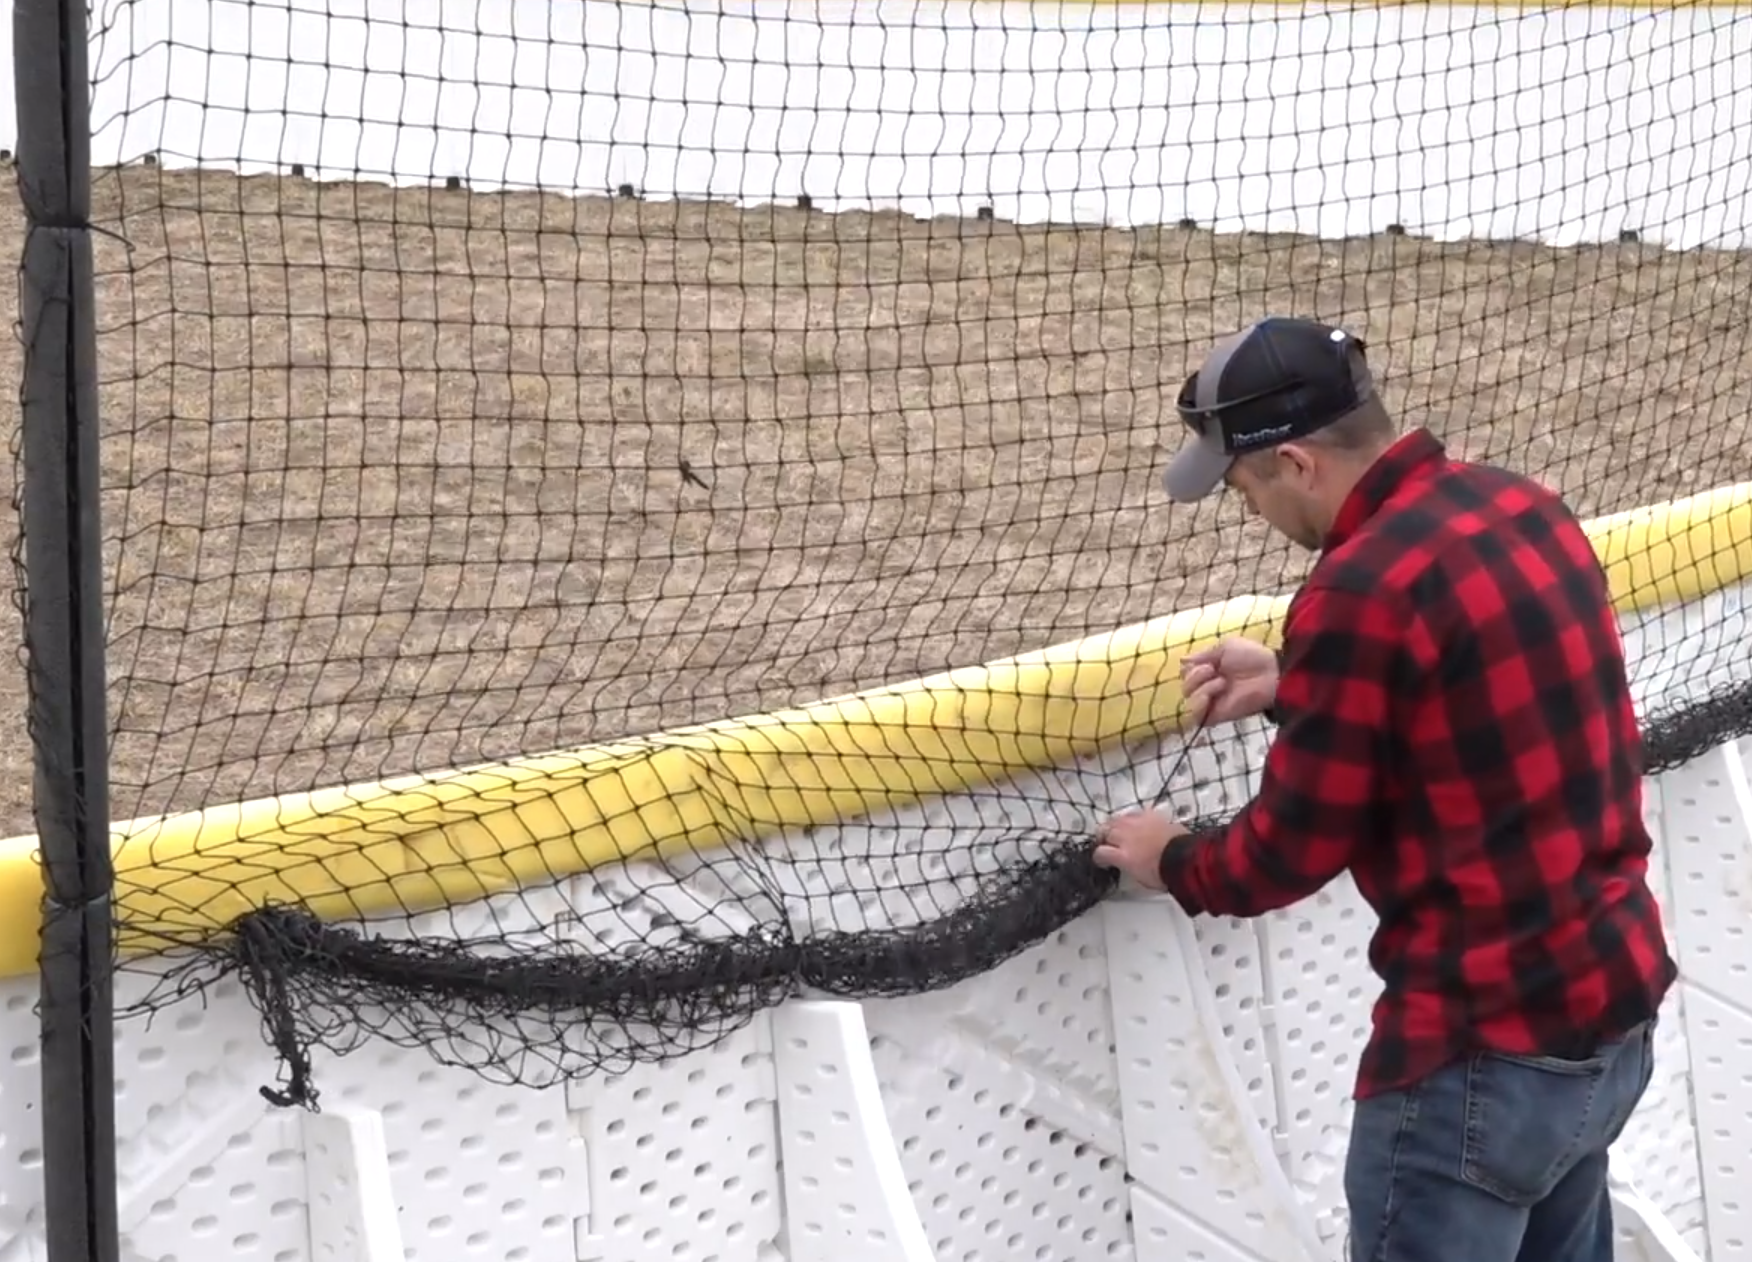
Step 3: Attach the Netting
Start at the first post and secure the top corner of the netting with a heavy-duty zip tie. Make sure the netting stays on the inside of the rink—this minimizes gaps and ensures pucks hit the net rather than slipping behind it.
Next:
Pull the netting tight along the top.
Secure it with a zip tie at the top of each post.
Add two or three additional zip ties down each post to keep the net secure.
Roll up any excess netting and clip off the extra ends for a clean, professional appearance.
Attaching the netting with heavy duty zip ties
Keep the Netting Off the Ground
It’s best to keep the bottom of the netting raised a few inches to prevent:
Snow and ice buildup
Heavy drifted snow from weighing the net down
Stretching or premature wear
Even with small gaps behind the boards, about 95% of pucks fall back into the rink. Anything that sneaks through can be retrieved at the end of the session once the snow melts.
Rolling and zip ties applied to the extra netting
Step 4: Repeat the Process on the Opposite End of the Rink
After finishing the first side, repeat the spacing and installation of posts on the far end. The process is identical and goes quickly once the layout is mirrored.
For our rink, the T-posts ended up spaced roughly 12 to 13 feet apart.
This DIY approach has proven cost-effective, durable, and easy to install and remove each year.
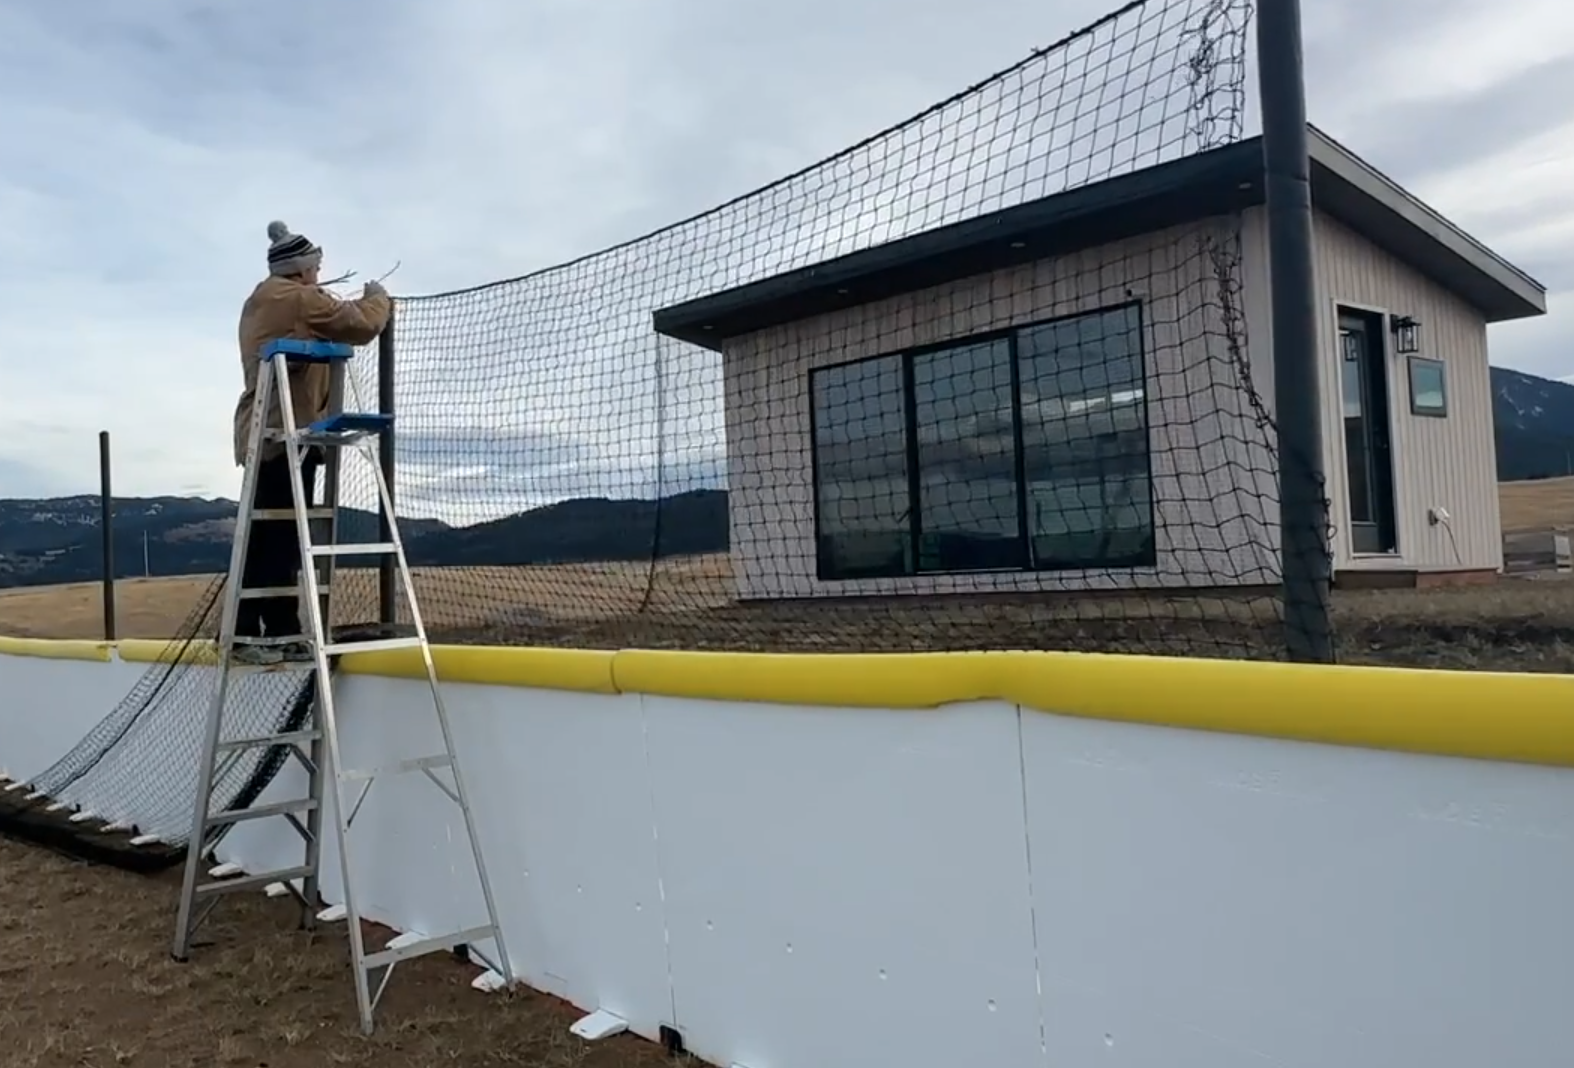
add protection: Installing a Secondary Net in front of House / windows
In addition to the main rink netting, we install a taller secondary net to protect the glass windows on our warming house.
Here’s how we built that setup:
Netting was custom-cut to 14 ft high and 22 ft wide
Eye screws were attached to the front of the warming house
Carabiners clip the top of the net to each eye screw
Twelve-inch metal stakes hold the bottom of the net out at an angle
Six stakes pounded into the ground to keep it tight and secure

Adding the second layer of netting to protect our big sliding door
Step 5: Removing the Netting at the End of the Season
Once the rink closes for the year:
Remove the boards behind the netting
Clip the zip ties
Pull down the netting
Remove the T-posts (easier if the ground is damp)
Store everything for use next season
This system has lasted us years and continues to hold up season after season.
Final Thoughts
We hope this guide helps you set up simple, durable netting solution for your outdoor rink. Whether you're protecting a house, keeping pucks in play, or just making rink life easier, this DIY solution is affordable and effective. If you have any helpful tips on your netting solutions, shoot us a message! For more Project O.D.R. Content follow us on Instagram and check out all our other DIY projects on Youtube with DIY Projects with Pete.
Cheers!