
How to install under ice led lighting
There’s nothing quite like skating on a backyard rink lit from below. Under-ice LED lighting adds a magical glow, boosts visibility, and brings a professional-level look right to your own backyard. In this guide, we’ll walk through the process we use each year to install under-ice rope lighting for our outdoor hockey rink—complete with center ice circles, blue lines, red lines, and even our pickleball court layout.
Let’s get to it!
Gathering and Testing Your LED Rope Lights
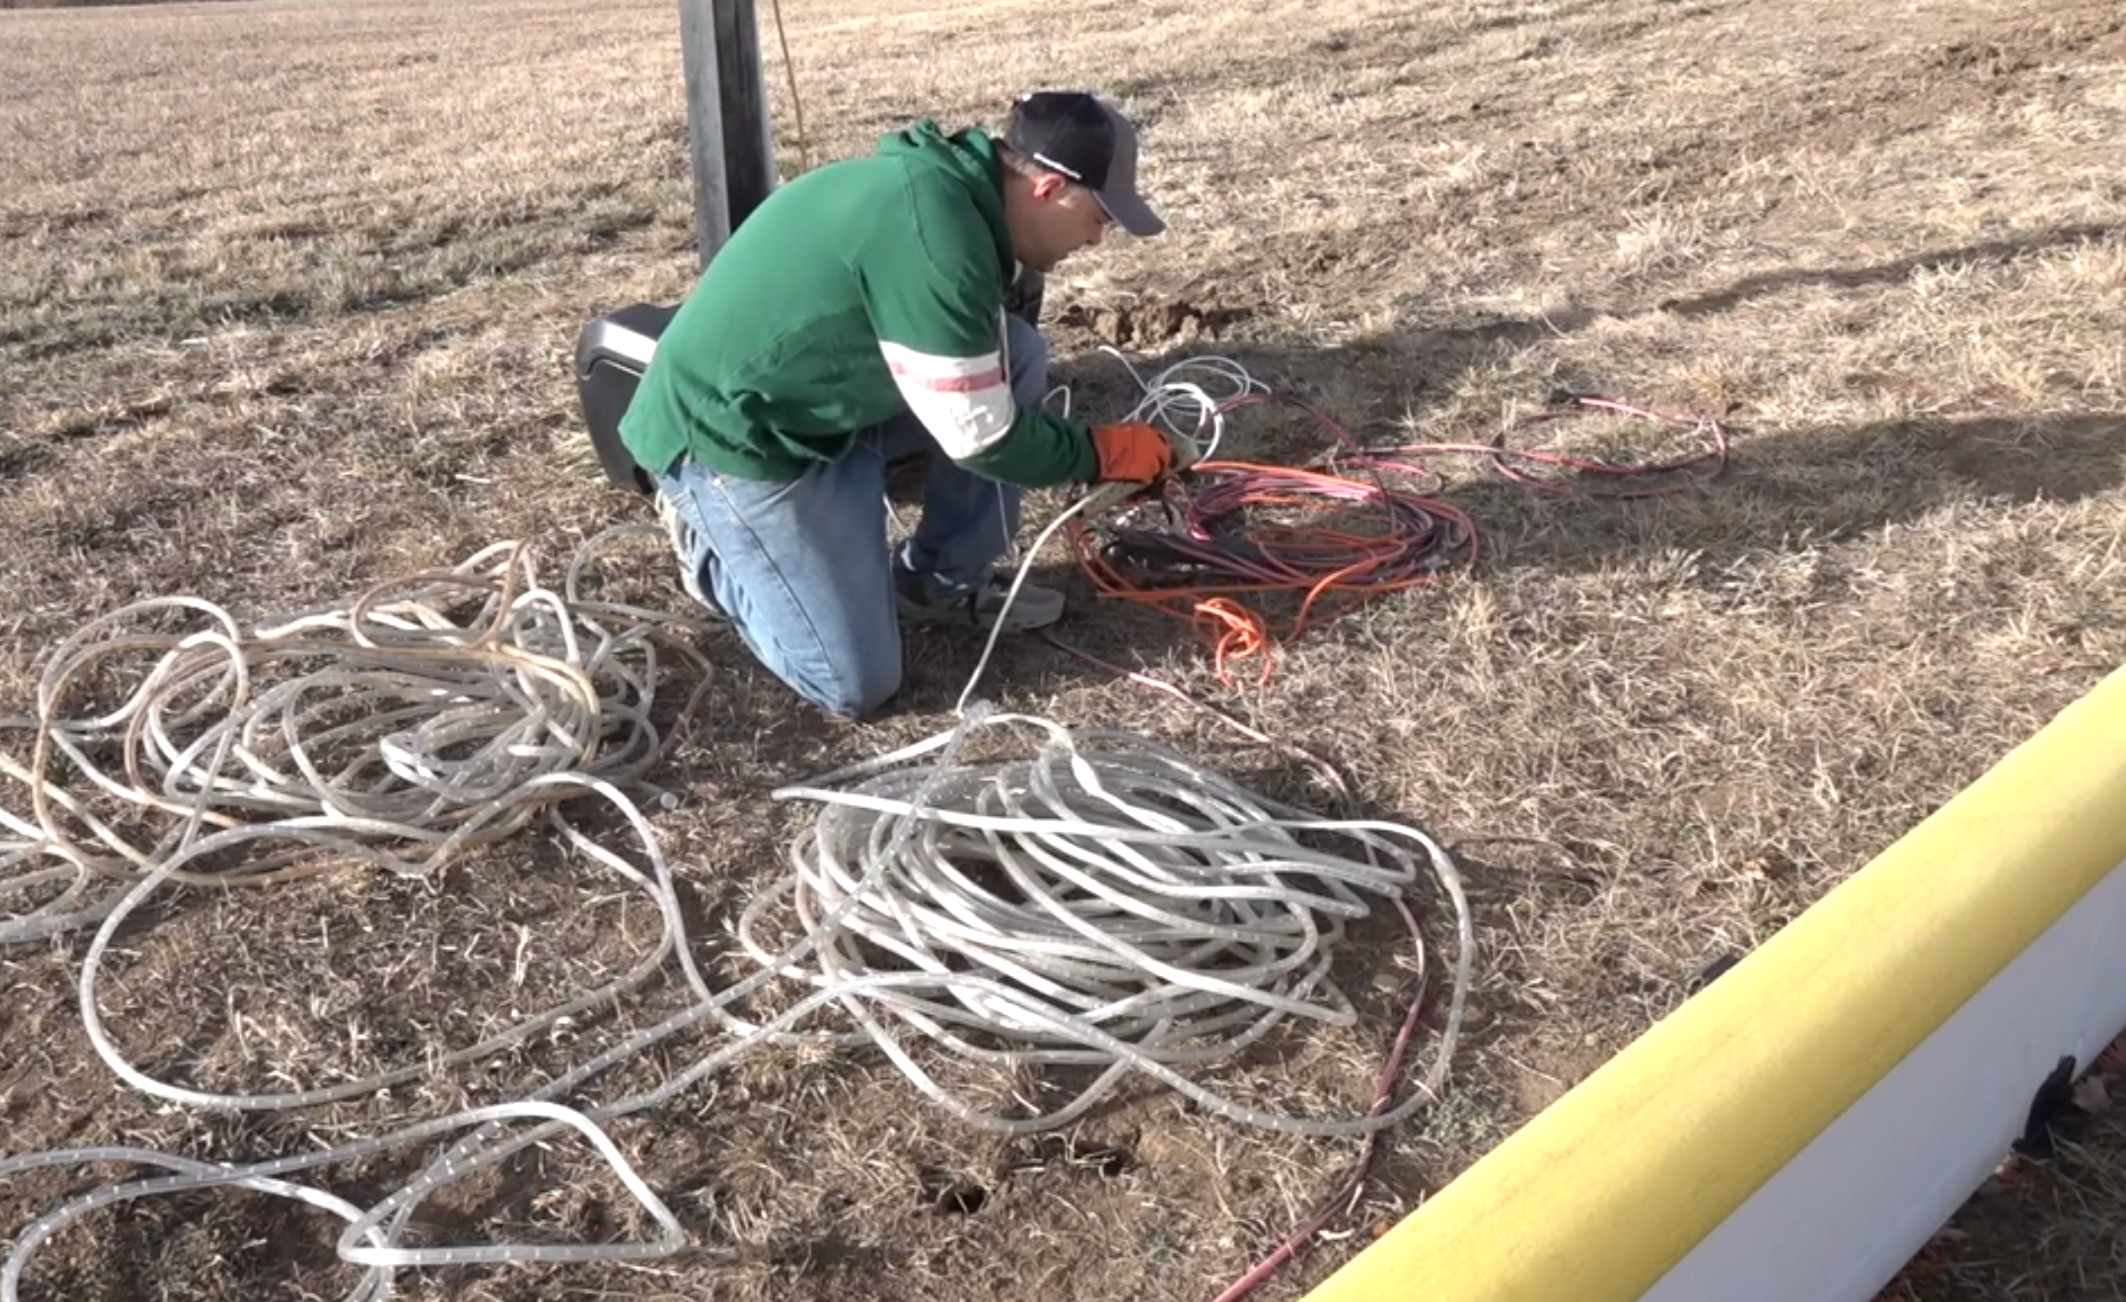
Before installing anything, I pulled out all of our lights from previous seasons to test and inspect them. Once it is dark I lay out each strand in the yard to check for:
Dead sections
Flickering sections
Cracked tubing
Missing end caps
Weak plugs or connectors
If any of the lights have issues or need repairs, I use patch kits and replacement rope lights to get everything working correctly before the install.
Step 1: Find the Center of the Rink
Accurate markings make installing center lines and circles much easier to assemble.
Two ways to find center:
Method 1 — Measure:
Our rink is 120 ft long by 60 ft wide so we measure 60 ft from the end board and 30 ft in from the side boards. At each spot, place a stake and draw a “+” where they meet
Method 2 — Count rink boards:
Simply count boards inward from the corner to find the midpoint for both length and width
This works great if your boards are uniform in size
Once the center is marked, add a “C” to label it. If you're adding blue lines, measure out proportionally from center—ours landed at about 16 ft, or roughly four boards from the center.
Mark and using a stake to mark the center line of rink. I used spray paint and marked with a ‘C’
Step 2: Test Lights Again Before Installing
Even if you’ve tested your strands indoors, plug them in one more time outside. Cold temperatures, cords sneaking under boards, or moving strands around can reveal new issues.
Once everything is glowing properly, it's time to install!
Double checking all the lights one final time before install
Step 3: Install the Perimeter Rope Lighting
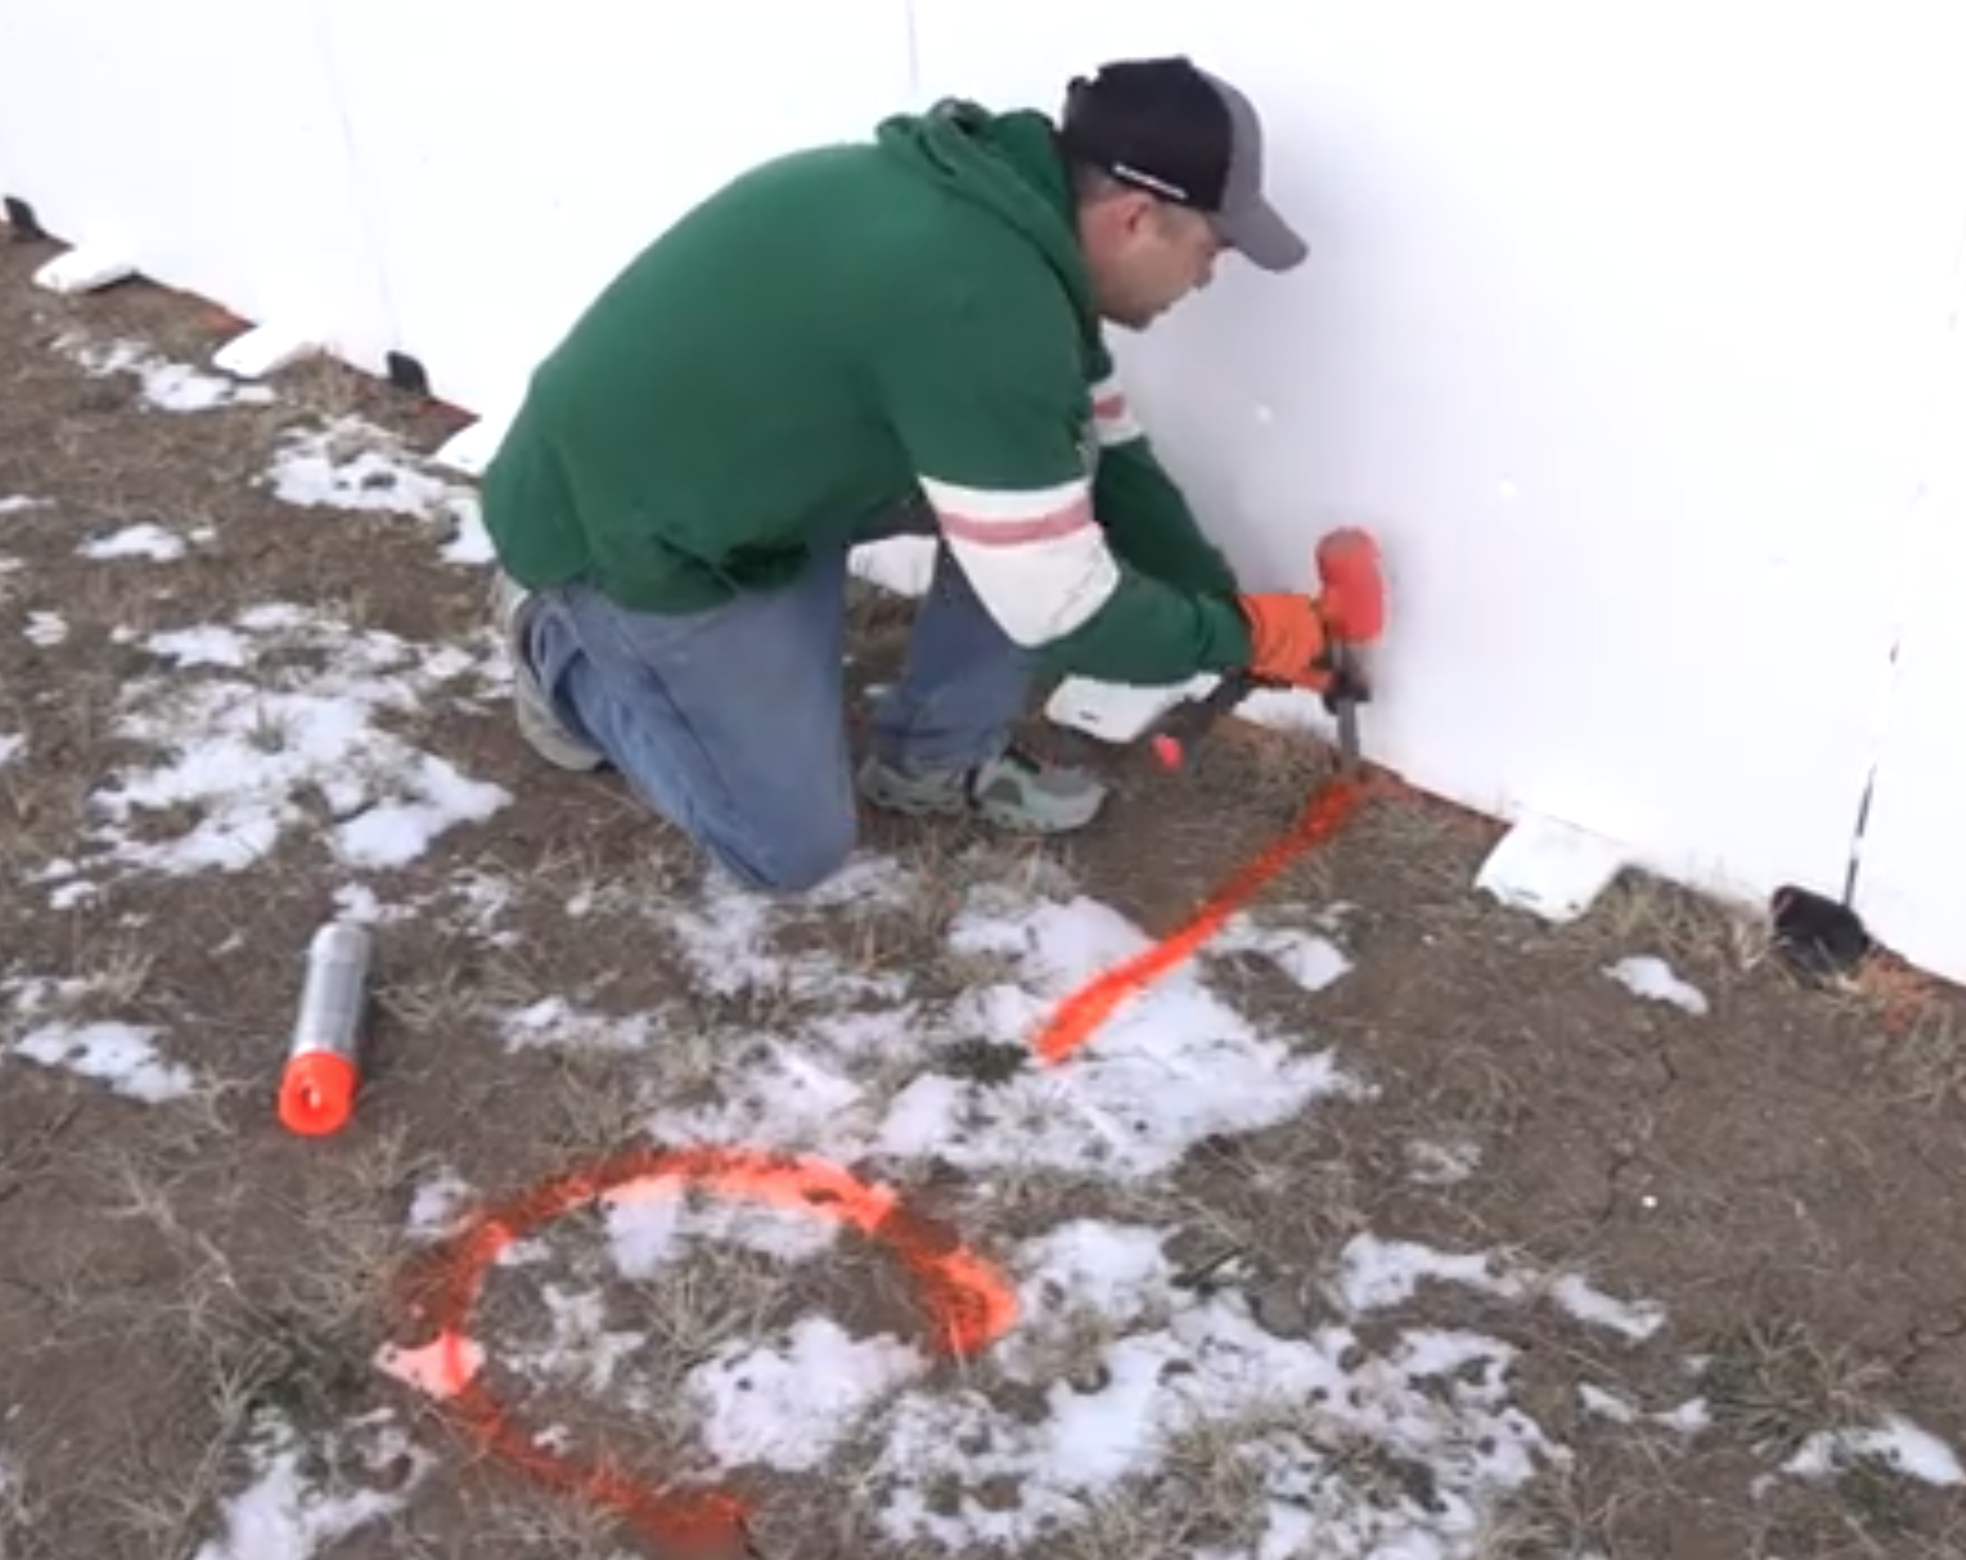
Start by sneaking the power cord under your first board and plug the lights in to ensure they're working while you install them. We keep the lights on the whole time during install.
Sneaking the cord underneath the boards to begin the install
Tools we used:
Under Ice Lights by NiceRink
4" heavy-duty yard staples (11-gauge) — highly recommended
Extra rope lighting & repair kits
Stakes
Pro Tip:
The thicker 11-gauge staples from Amazon worked far better than the hardware store version for us, especially once the ground began to freeze.
Installation Process:
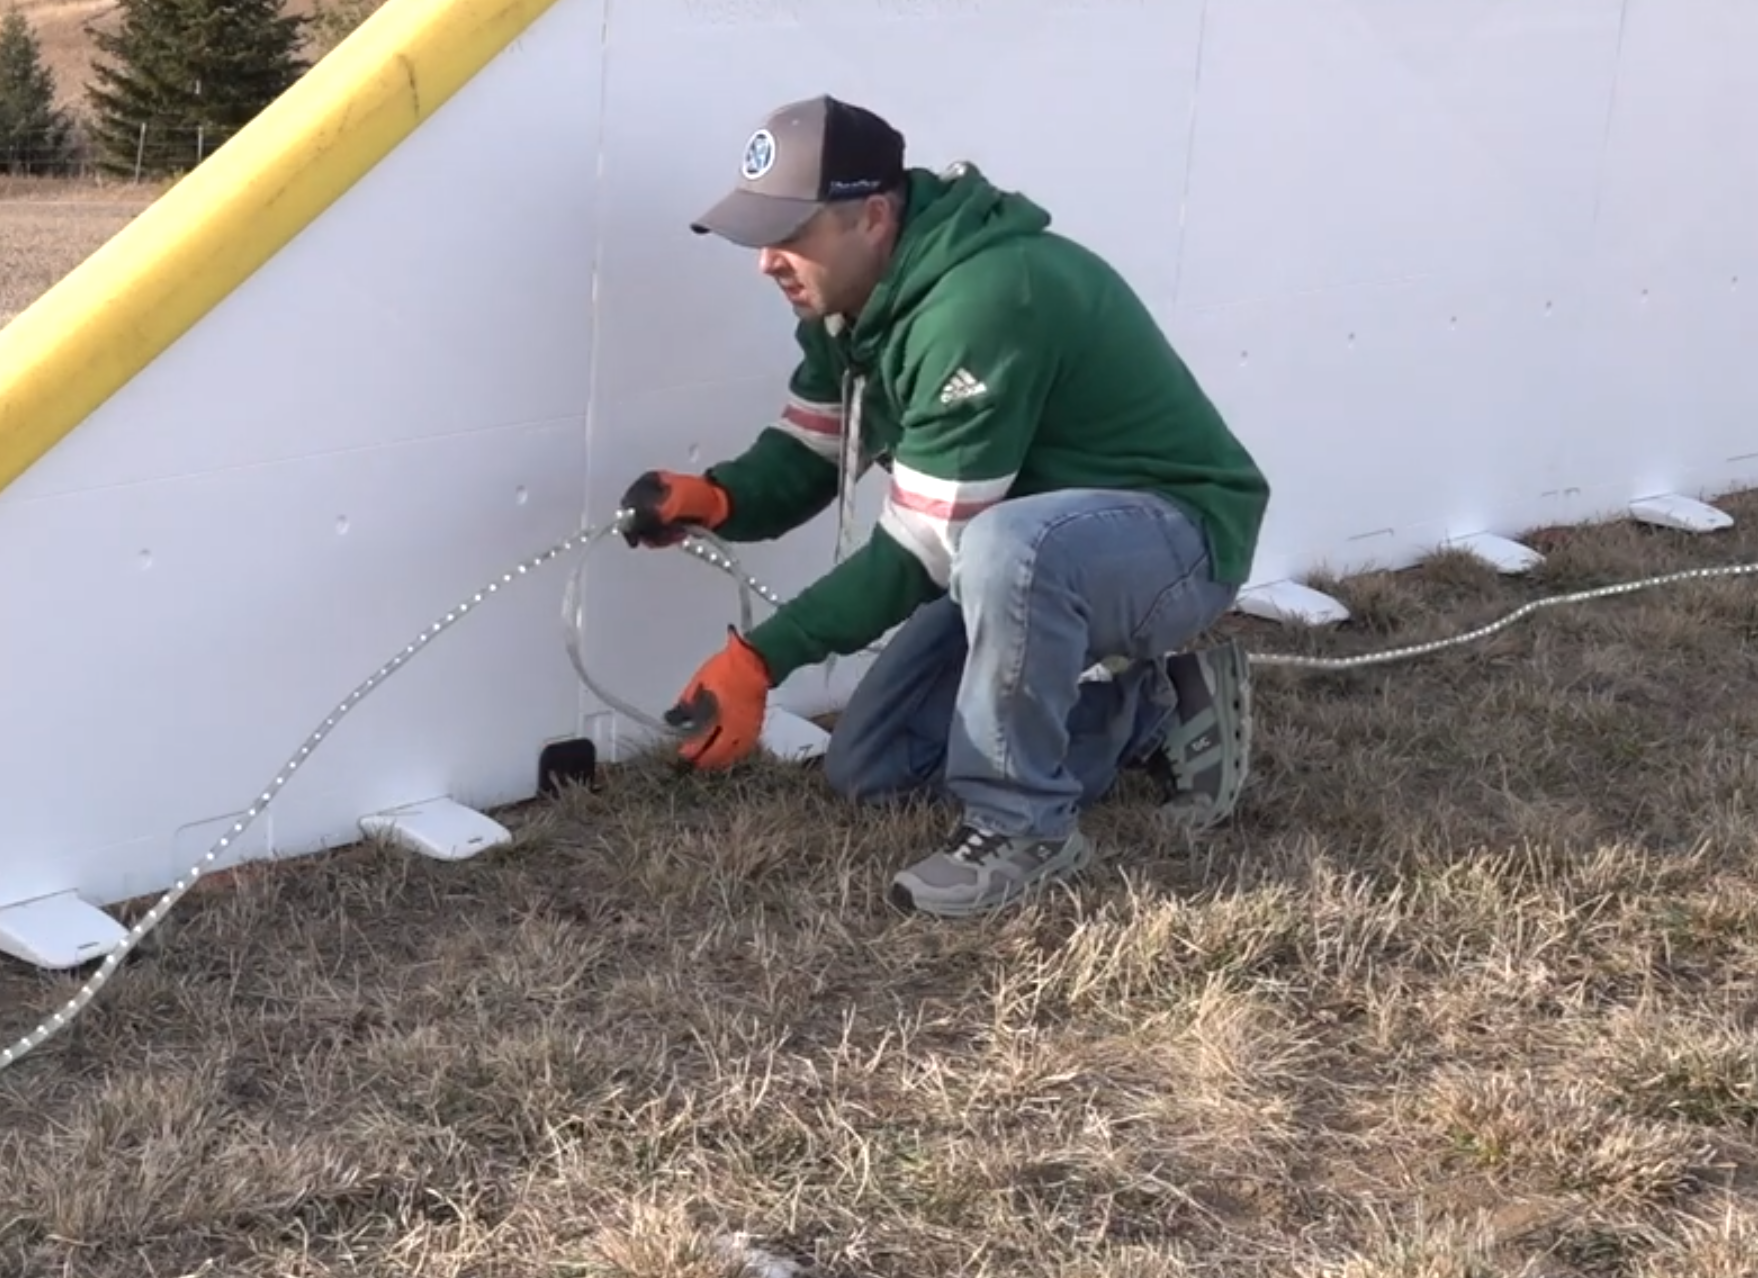
Start the lighting about 6–8 inches inside of the boards.
This creates a beautiful upward glow on the boards.
Lay out the full strand around the rink before stapling everything down.
Place staples:
Every 5-10 ft along straight sections
Every 3-4 ft around corners
Pull the rope tight as you go to straighten out curves or coils.
If you find a dead section, loop the rope so the ‘dead’ gap blends in visually.
Looping the rope light to blend the dead spot in the lights
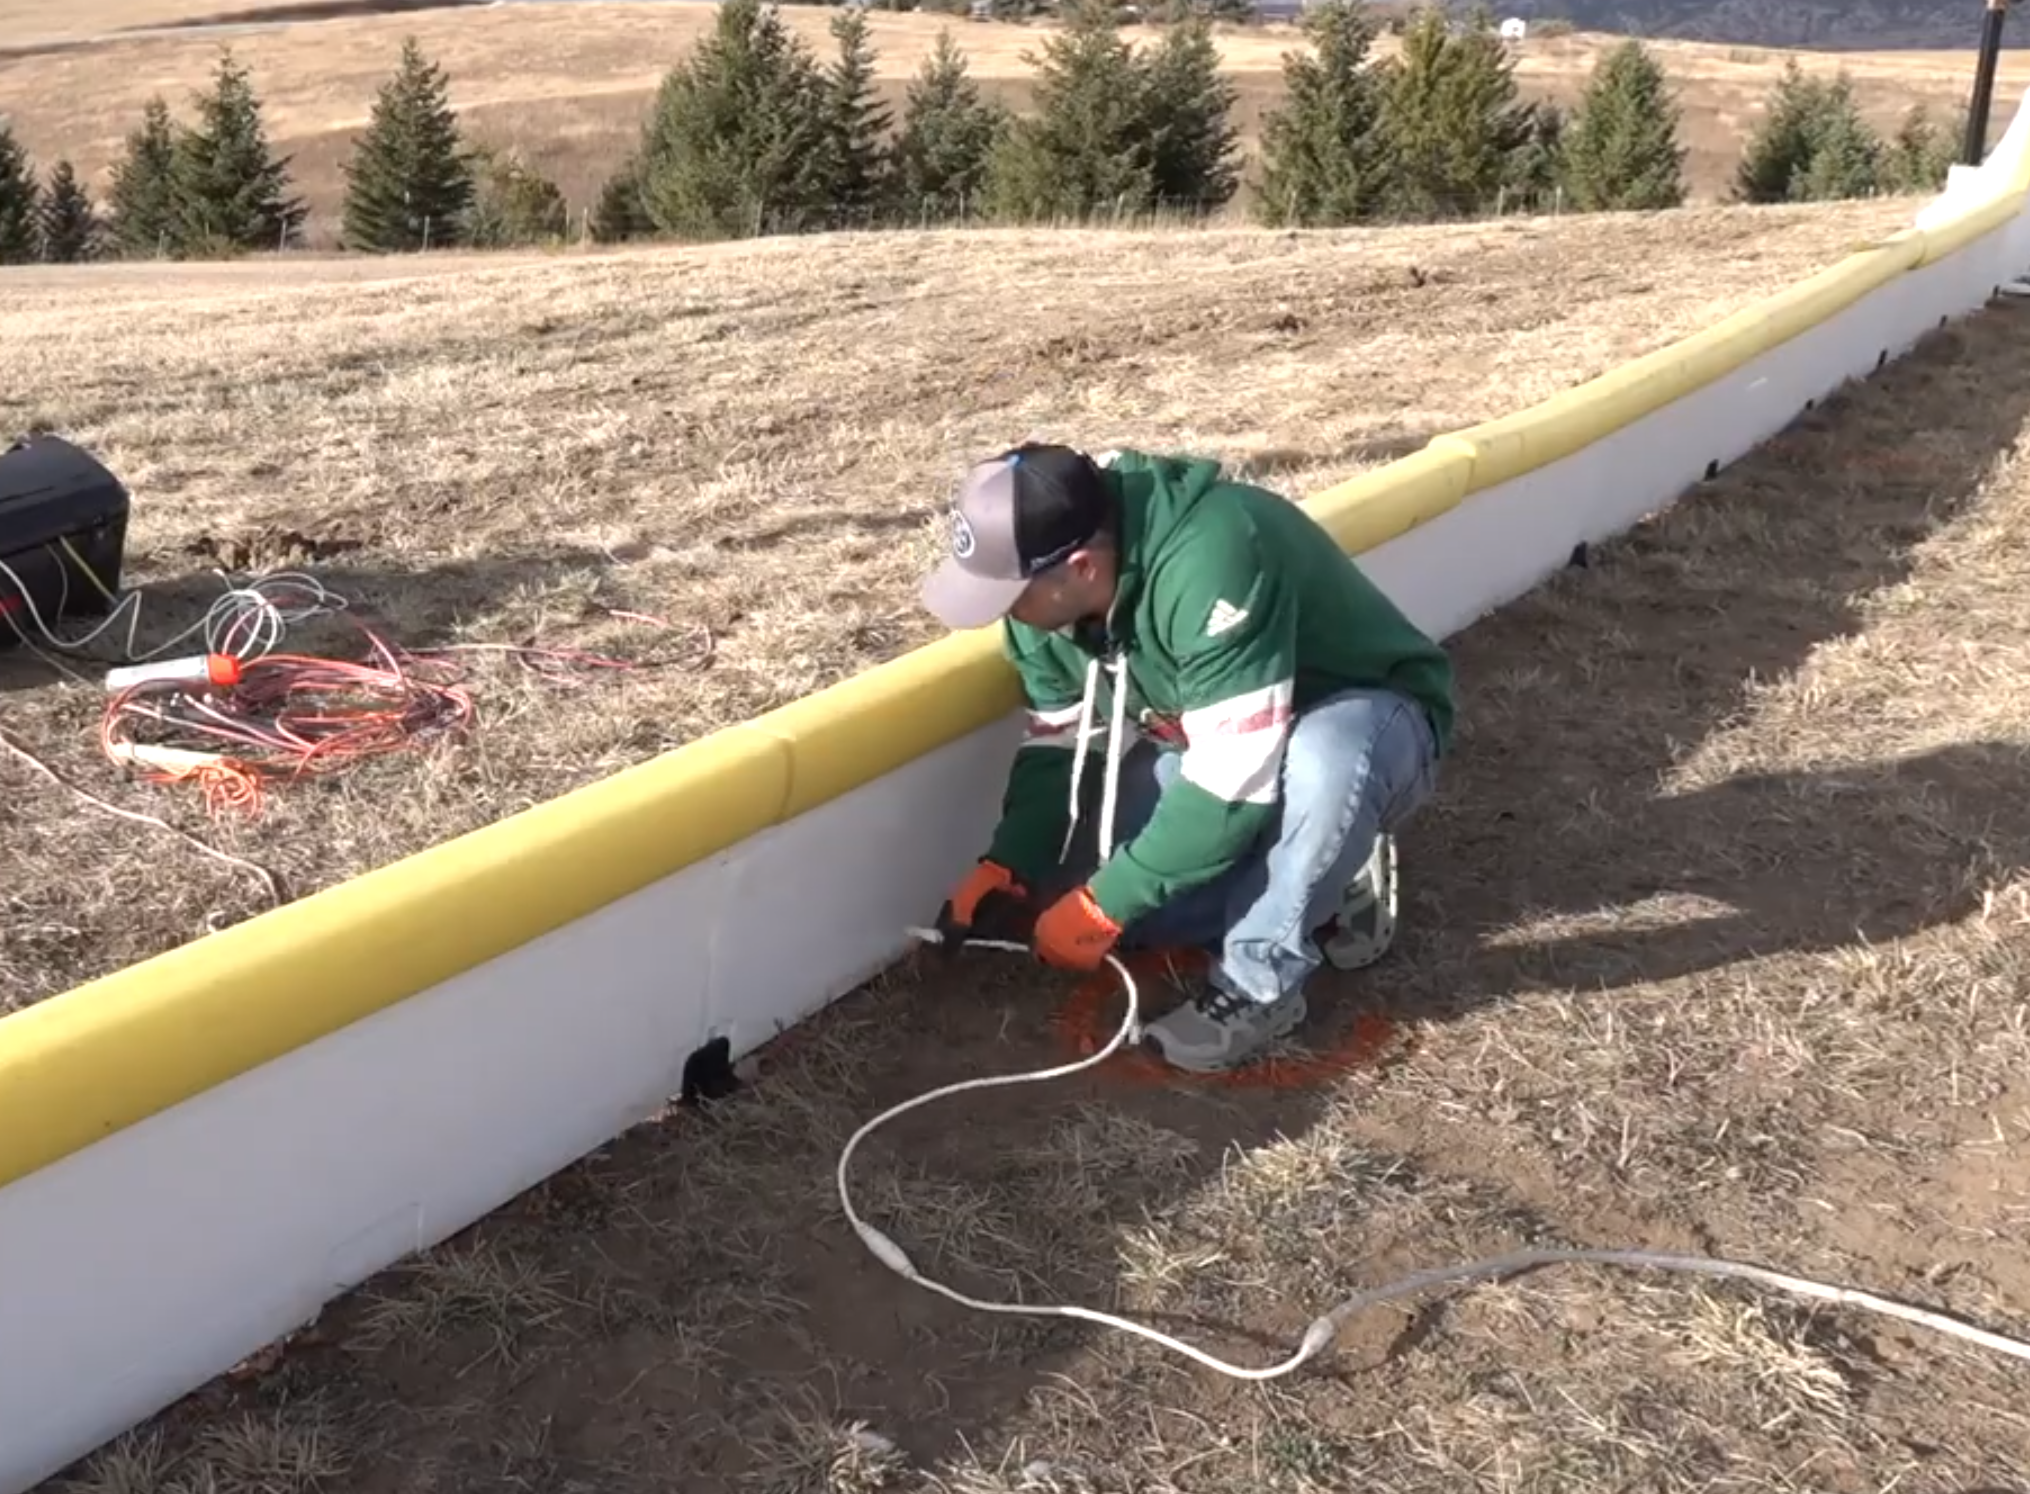
Step 4: Installing Red & Blue Lines
To install the red and blue lines:
Run an extension cord across the rink to power your line lighting
Lay out the rope lighting along the measured markings
Staple along the line every few feet
Repair or replace any dead sections by cutting and re-plugging the rope
Lay everything in warm weather if possible—the tubing stays more flexible and much easier to keep lines relatively straight.
In cold weather, as shown in our Year 4 build at 3°F (-16°C), the rope light becomes stiff and harder to straighten. This year’s warm weather installation was noticeably easier with the rope and with putting in the yard staples.
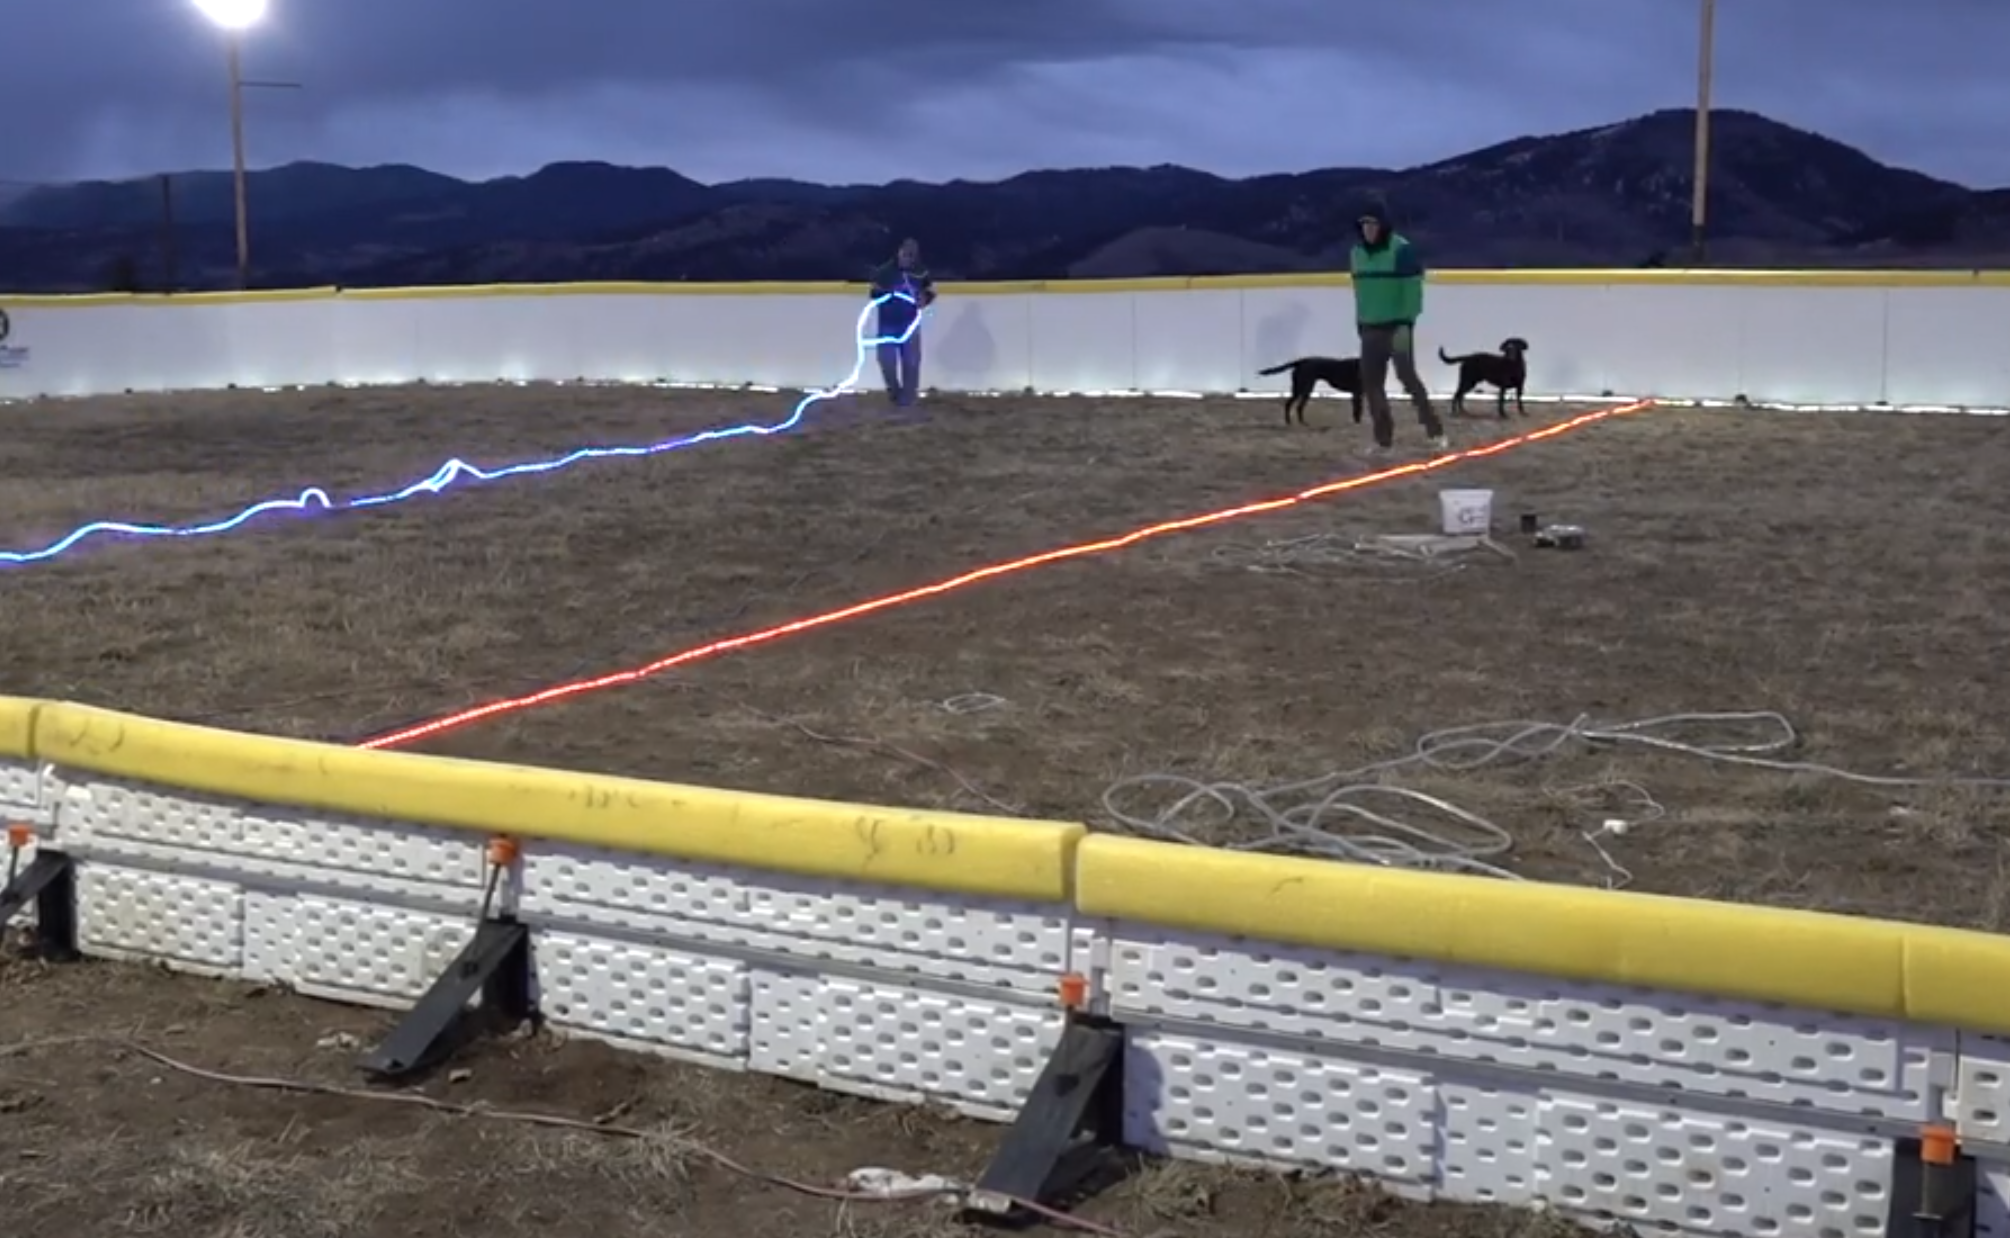
Installing the red and blue lines
Step 5: Create the Center Ice Circle
We installed a 20-ft diameter center circle, which requires about 63 feet of rope lighting (calculated using π × diameter).
Tip: Marking an accurate circle is much easier with two people—one to hold the pivot line and one to mark the curve.
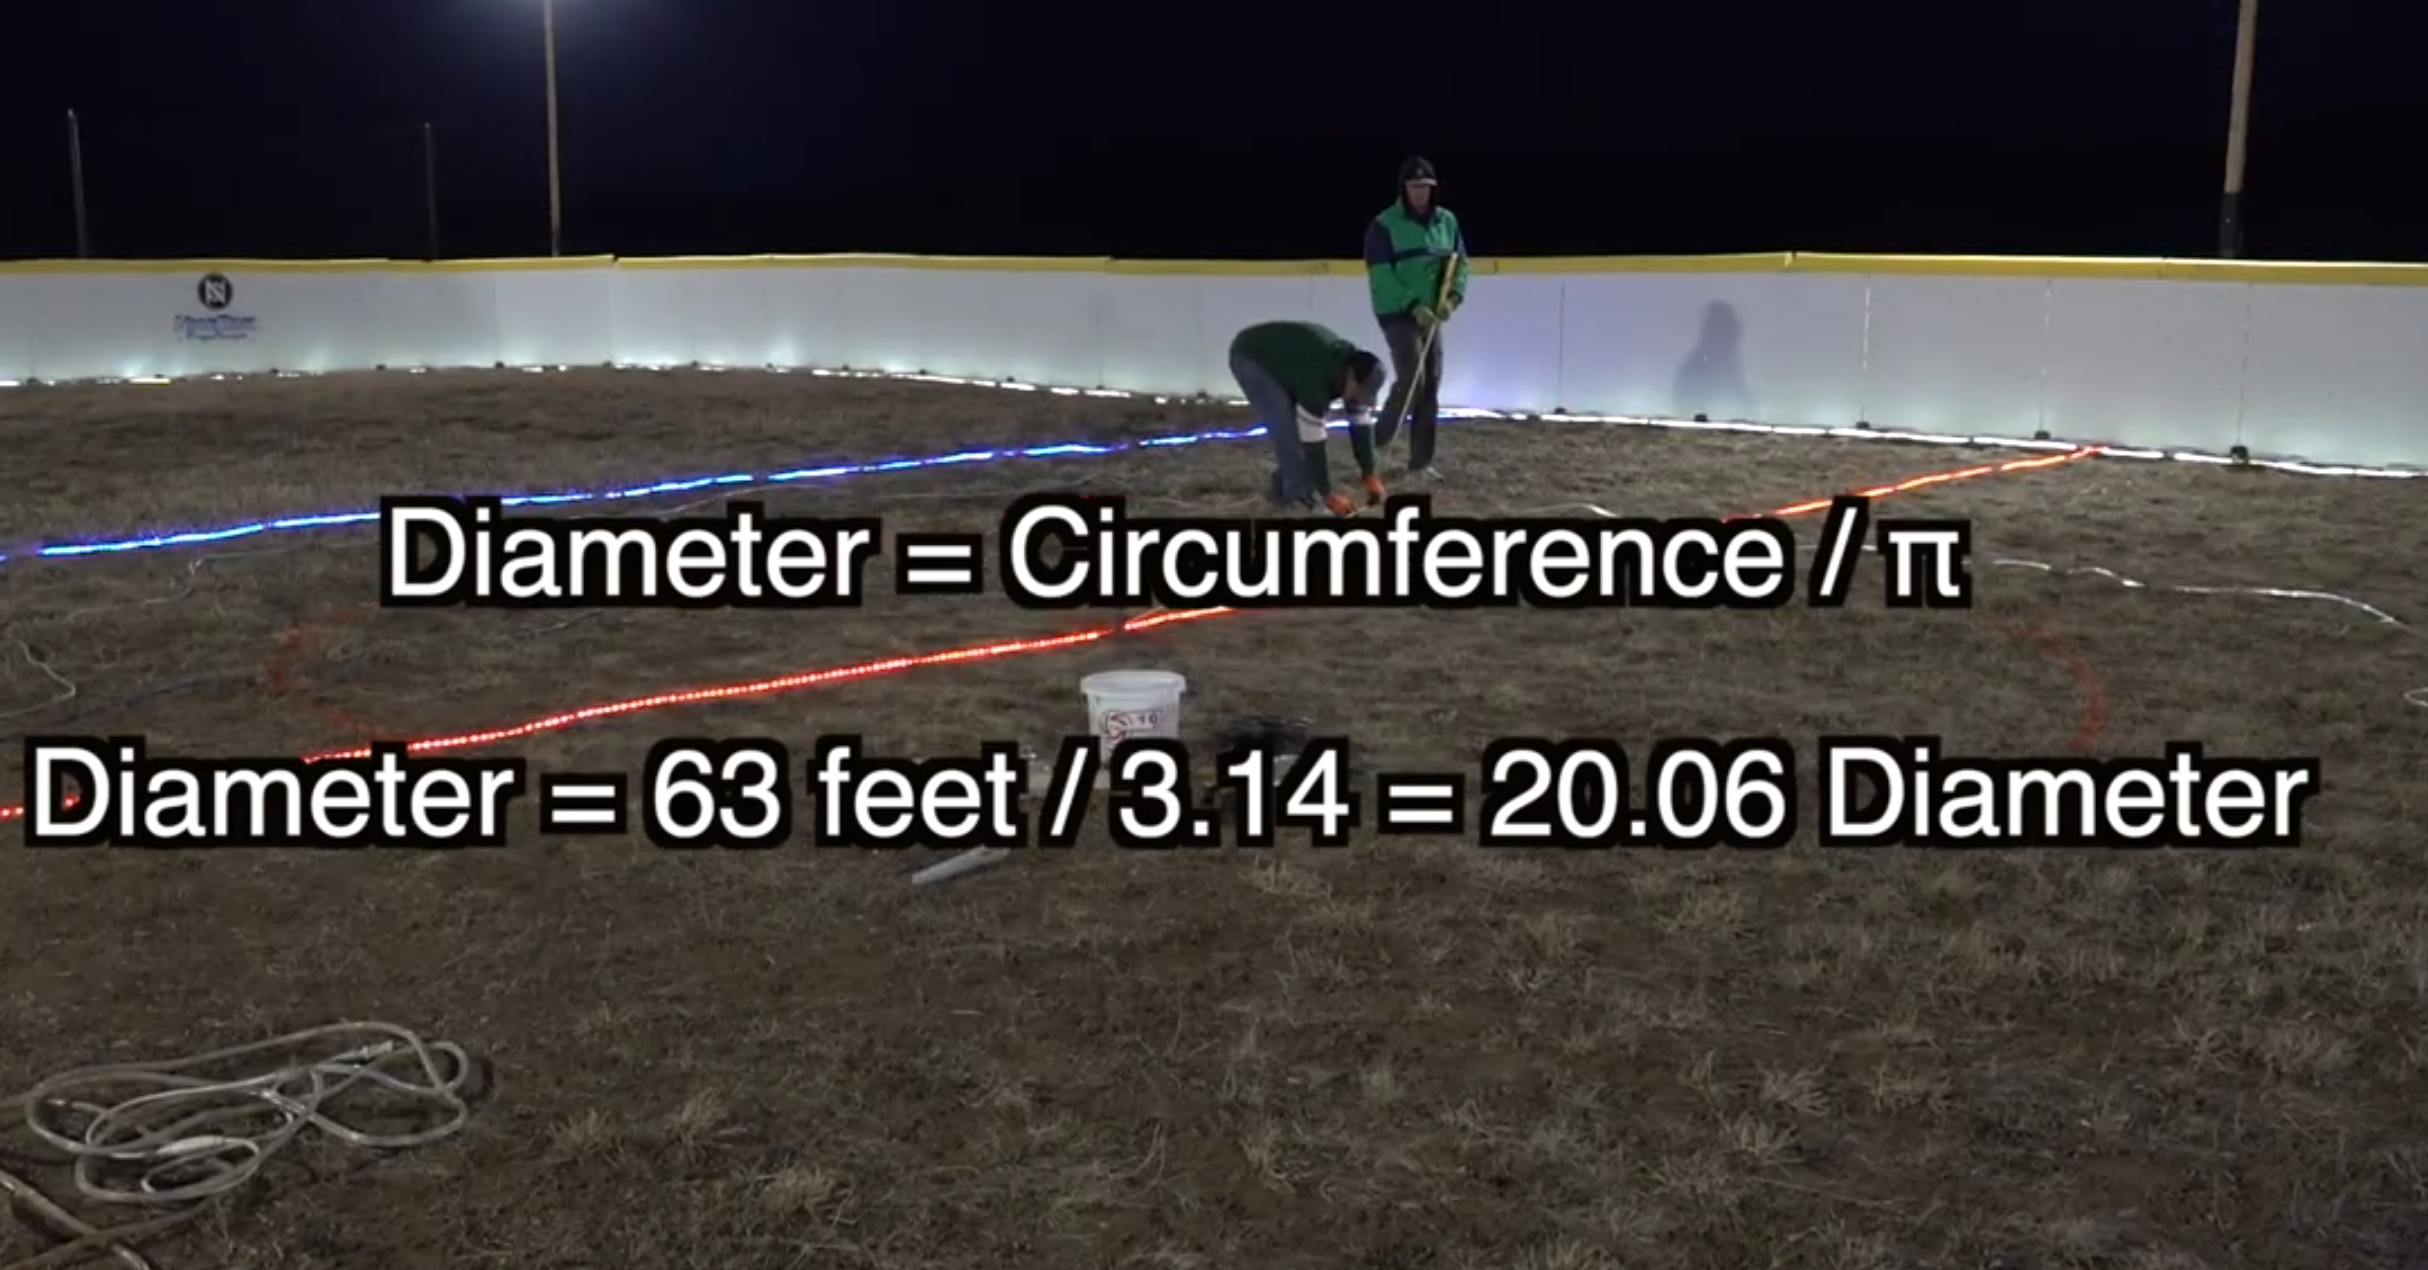
Using a tape measure and spray paint to mark and measure the center circle
Installation Tips:
Use a staple every 1–2 feet to create smooth curves
Run a dedicated extension cord to power the circle
Follow your chalk or marker line closely to maintain roundness
This detail adds a huge “wow factor” to the rink.
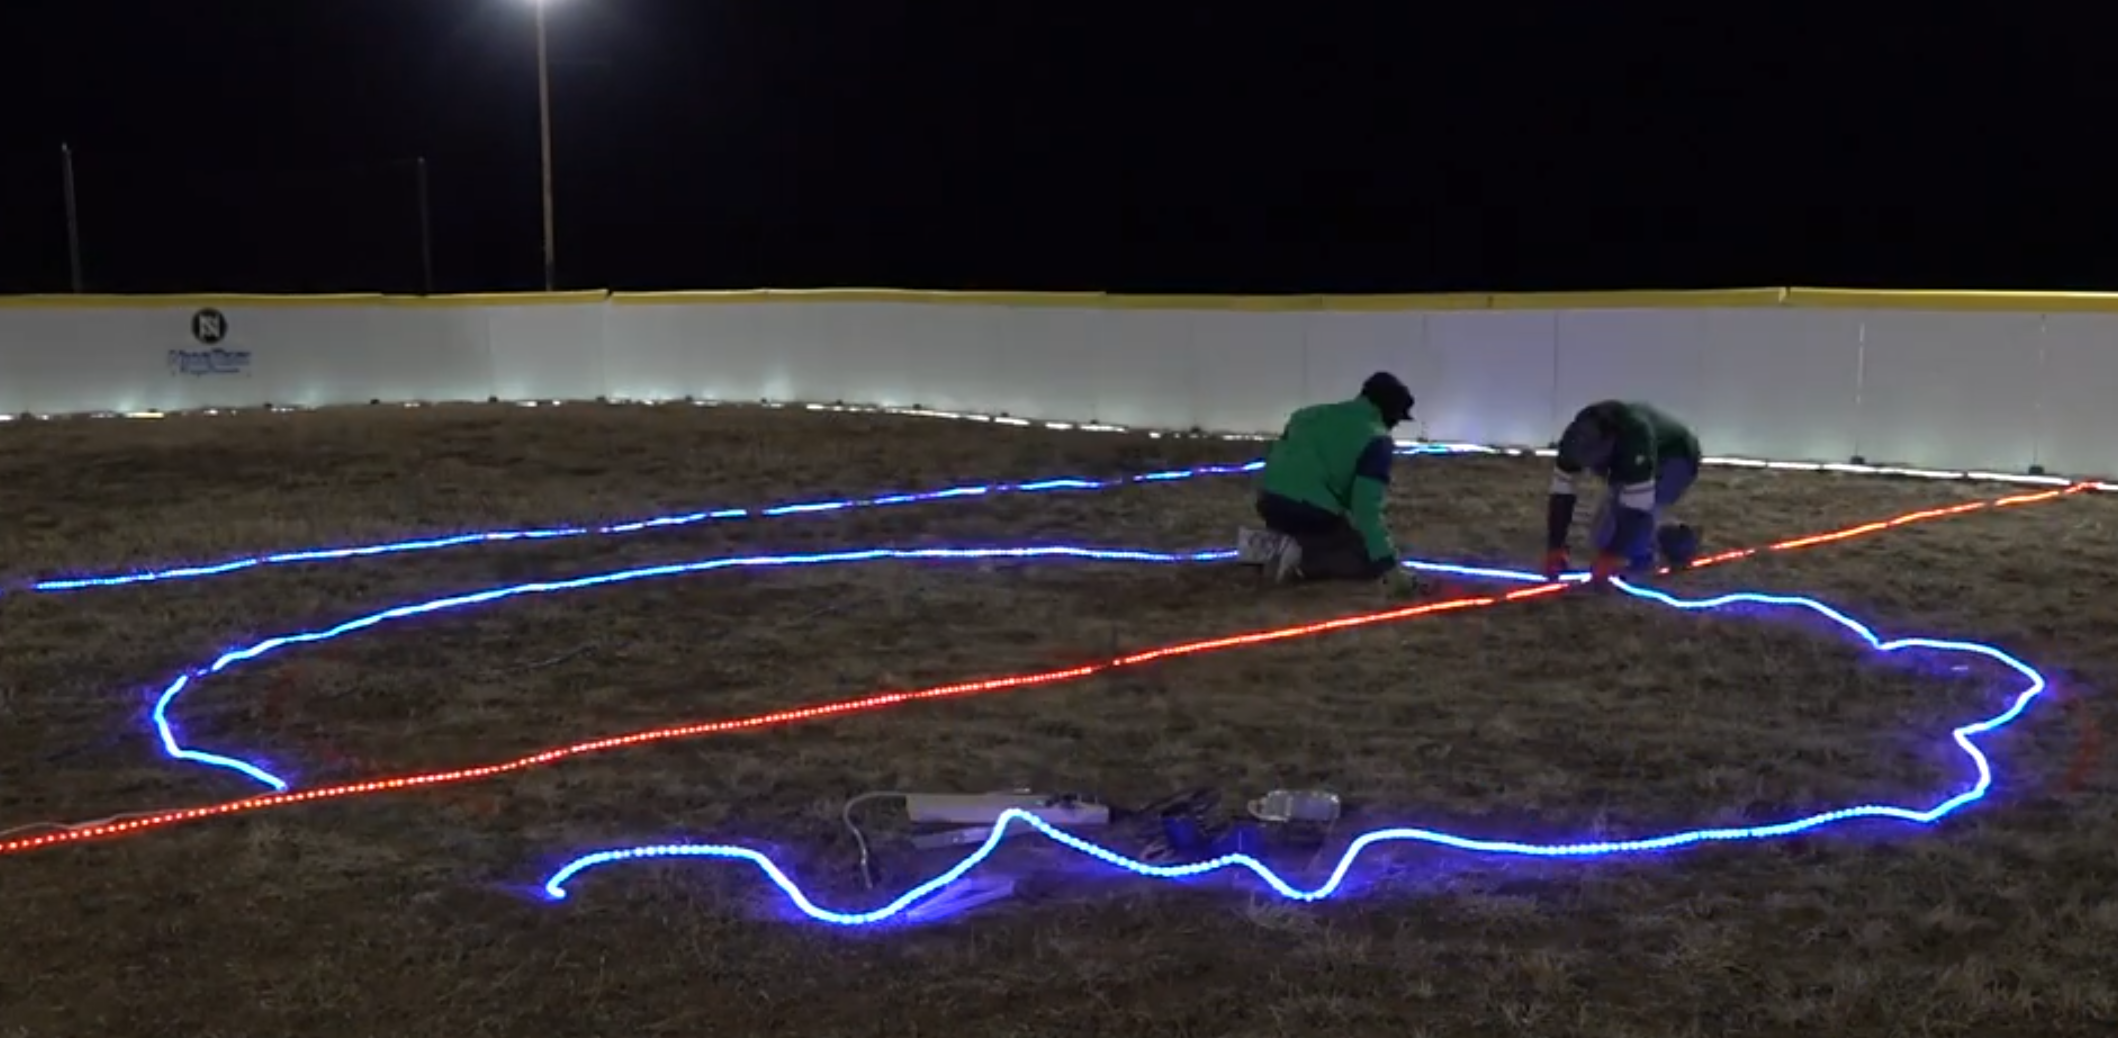
Using ground staples to secure the center circle
Bonus: Building a Lighted Pickleball Court on the Ice
We also added lighting for a winter ice pickleball court!
A standard court is 44' × 20' and requires around 128 ft of lighting. I thought I ordered a 150-ft reel, but it ended up being only 120 ft—so we shortened the court slightly. Next year, I’ll order a full-length reel to get it perfect.
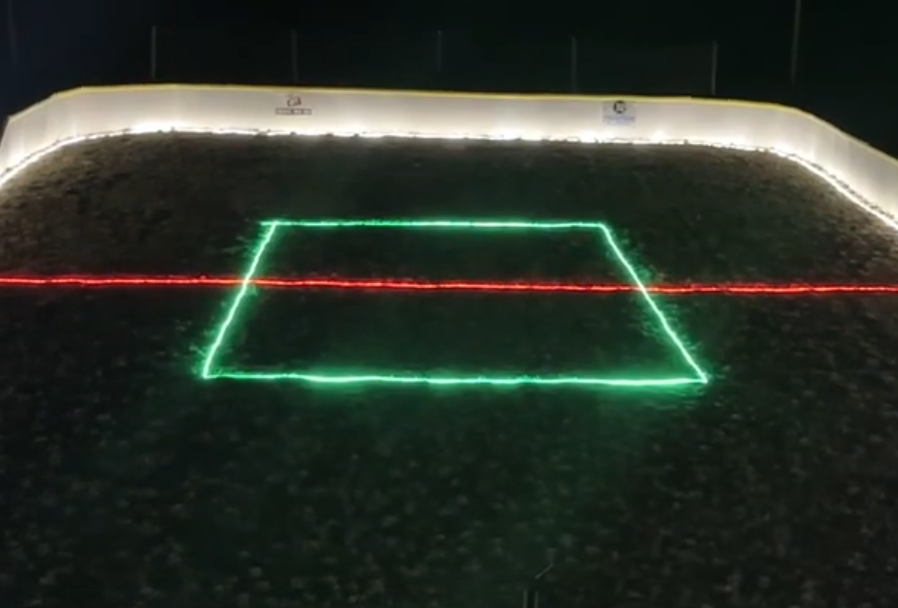
The pickleball court LED lights
Weather, Timing, and Avoiding Snow Issues
Outdoor rink building is all about timing. LED installation can be tricky if:
Snow comes early
Ice forms before the liner is down
Animals walk on the liner
Wind shifts the lighting
My Best Advice:
Install your lighting early while it’s warm
Use utility flags to mark lighting paths before snowfall
Clear snow gently to avoid catching rope lighting in a shovel or snowblower
I once caught a strand in my snowblower auger—trust me, it’s not fun.
Protecting Cords & Power Connections
We had a lot of extension cords and surge protectors powering the rink, so I placed them inside a plastic storage tote for temporary weather protection and organization.

Drilling a hole in a storage container for cords and power supply to be stored in next to the rink
Step 6: Install the Liner and Fill the Rink
Once the LED lights are in place and when the weather allows, start the fill!
Here’s the process:
Roll out the liner early in the morning when the wind is calm
Clip it to the boards
Add yellow bumpers to hold everything in place
Begin filling the rink
Let it freeze over the next 5–6 days, depending on temperatures
And once the ice forms, the under-ice LED lighting will shine beautifully through the surface.
Final Thoughts
I hope this walkthrough gives you ideas and inspiration to try under-ice LED lighting at your own rink. It’s surprisingly simple, adds a dramatic visual effect, and makes the rink feel extra special for kids, families, and anyone who steps out onto the ice.
Building a backyard rink is a labor of love—but seeing the lights glow through fresh ice and watching friends and family skate under the night sky makes it all worth it.
Cheers, and have fun skating this season!
—Pete
